Project P.I.T.T. Controls
Move, grab, rotate, and snap with confidence before you automate.
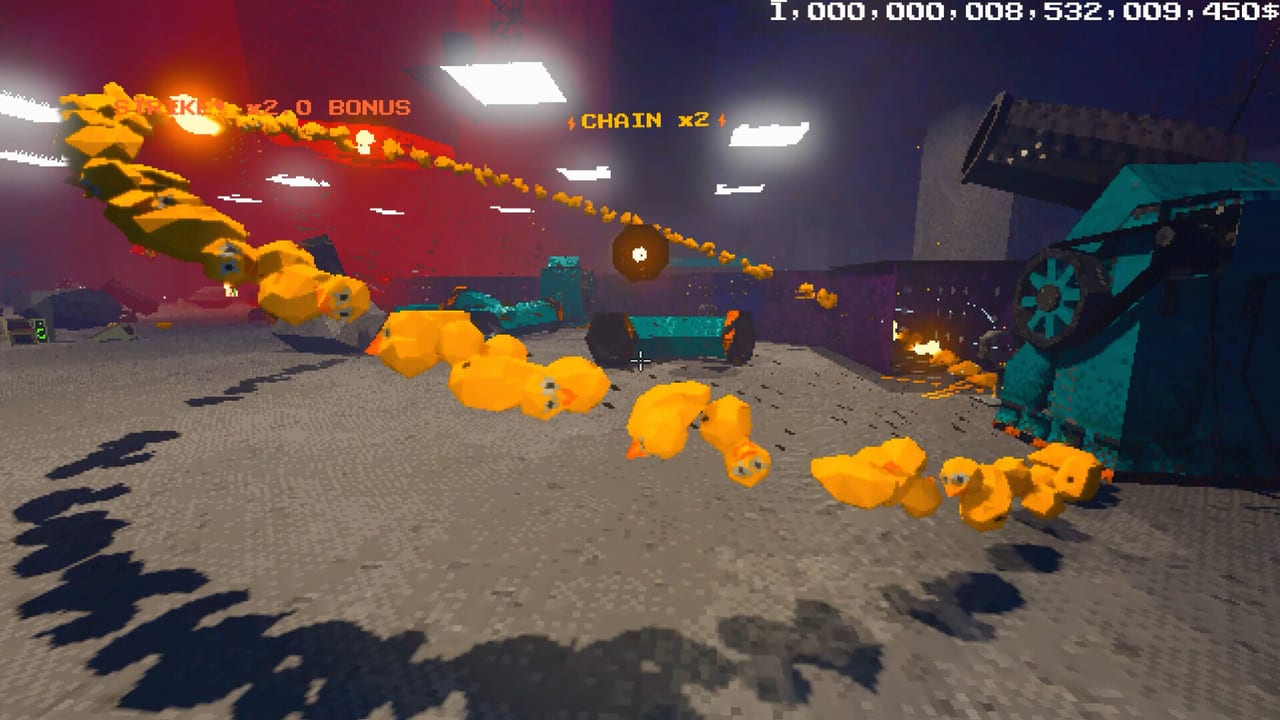
Project P.I.T.T. is a first-person physics sandbox. Your throughput depends less on menu clicking and more on how cleanly you move, crouch under pipes, grab awkward ducks, rotate panels into alignment, and snap devices into repeatable layouts. This controls guide is the muscle-memory brief every intern should finish before building a fan farm. Pair it with Getting Started for progression context and the Demo Walkthrough for a practice route.
Movement and stance
Use WASD to walk the facility. Concrete floors and harsh lighting make depth hard to read at first — walk slowly near The Maw lip until you trust the collision. Space jumps gaps and short ledges; use it to reclaim ducks that bounce onto platforms instead of diving blindly. C crouches under low beams and into tight tool alcoves; many early jams happen because players refuse to crouch into the angle that would free a stuck panel. Shift sprints for long corridors between craft points and The Maw, but release sprint before precision placement — sliding while dropping a magnet is how lines start crooked.
Stance matters during countdown pressure. When height shrinks or the pit expands visually, stop sprinting, plant your feet, and use pillars as height markers (see Tips and Secrets). Panic sprinting next to The Maw wastes more ducks than a calm walk.
Interact, pick up, and throw
F is your interact key for workstations, unlocks, remotes, and world prompts. If something looks usable and does nothing on grab, try interact first. Left mouse button picks up physics objects: ducks, boxes, tools, panels — anything the facility lets you hold. Keep the camera steady while lifting; yanking the view sideways is a common way to clip products into geometry.
Right mouse button throws after you unlock the throw upgrade. Until then, focus on carrying and dropping with intent. Once throw is available, treat it as a ranged feed tool, not a toy. Short arcs into The Maw beat heroic long bombs that bounce off lips. Practice throw power on empty floor before aiming at the pit. Combine throws with launchers later — see How to Automate and Physics Tools.
Rotate and snap mode
Middle mouse button rotates the held object. Rotation is how panels become ramps, how magnets face the correct axis, and how boxes nest without wedging. Rotate in small increments while watching shadows and edges against the floor grid. If an object looks “almost right,” it is usually five degrees off — fix it before you chain fans into it.
R toggles snap mode. Snap is the difference between a one-off sculpture and a rebuildable production line. Enable snap when placing structural pieces you want to clone mentally later; disable snap when you need a micro-adjustment to clear a jam. Interns who never use snap rebuild every layout from scratch after each experiment. Interns who never disable snap leave tiny gaps that eat ducks forever.
Controls for tools and automation
Fans, magnets, panels, pistons, launchers, brooms, the golf club, and remotes all obey the same grab-rotate-place grammar. Place directing tools with their “push” or “pull” face aimed along the intended path. Panels need rotation plus snap to form continuous floors. Sticky tools upgrades make panels adhere and behave like serious routing hardware — prioritize that path in Upgrades and confirm rankings on the Tools Tier List.
Remotes reward interact discipline: set the device, step to a safe overlook, then trigger without standing in the launch path. Brooms and the golf club are manual redirect tools — great for recovering strays mid-combo without dismantling the line. Use them when a single duck threatens a chain, as described in How to Chain Combos.
Input habits that raise throughput
- Crouch before micro-adjusting objects under low clearance.
- Sprint only in clear corridors; walk near The Maw and active magnets.
- Rotate, then snap, then release — never release mid-rotate.
- After throw unlock, practice three short throws before one long throw.
- When a line jams, pick up the jammed object; do not spam new ducks into the clog.
- Use interact on remotes from a balcony or side angle so you can see the whole path.
Accessibility and performance notes tied to control feel
If input feels delayed, check frame rate before rebinding assumptions. Heavy retro post-processing plus dozens of physics actors creates soft input lag that feels like bad controls. Turn off the retro effect and switch to LOW graphics when the facility fills up, then reassess. Clean frames make crouch-jump-grab chains feel fair again. More performance guidance lives in Tips and Secrets.
Practice course inside the facility
Give yourself a ten-minute drill: grab a duck, rotate it 180 degrees, snap-place a panel as a mini ramp, walk it to The Maw, feed, then retrieve a second duck with a short throw once unlocked. Repeat until the sequence is boring. Boring means ready. Then open Automation Builds or the Tools hub and place your first fan with the same discipline.
Cross-links for the next skill
Controls alone do not feed The Maw forever. Return to the Guides Hub for the reading order, study products under Items, and check Early Upgrades when a new input-gated unlock appears (throw, sticky panels, remotes). Official storefront and community control discussions can be reached via Links. Keep this page bookmarked until snap and throw feel automatic — after that, the sandbox opens up.
Frequently Asked Questions
Quick answers about the full game, The Maw, and day-one patches.
What are the default movement keys?
WASD moves, Space jumps, C crouches, and Shift sprints. Walk near The Maw; sprint only in clear corridors.
How do I pick up and throw objects?
Left mouse picks up. Right mouse throws after you unlock the throw upgrade. Practice short throws before long Maw shots.
What does the R key do?
R toggles snap mode for precise device and panel placement. Use snap for structural layouts; disable it for tiny jam-clearing adjustments.
How do I rotate held objects?
Hold middle mouse to rotate. Align panels, magnets, and boxes carefully before releasing, especially when building automation paths.
Why does aiming feel laggy?
Dense physics plus the retro effect can drop frames and soften input. Disable the retro effect and set graphics to LOW, then retest controls.